
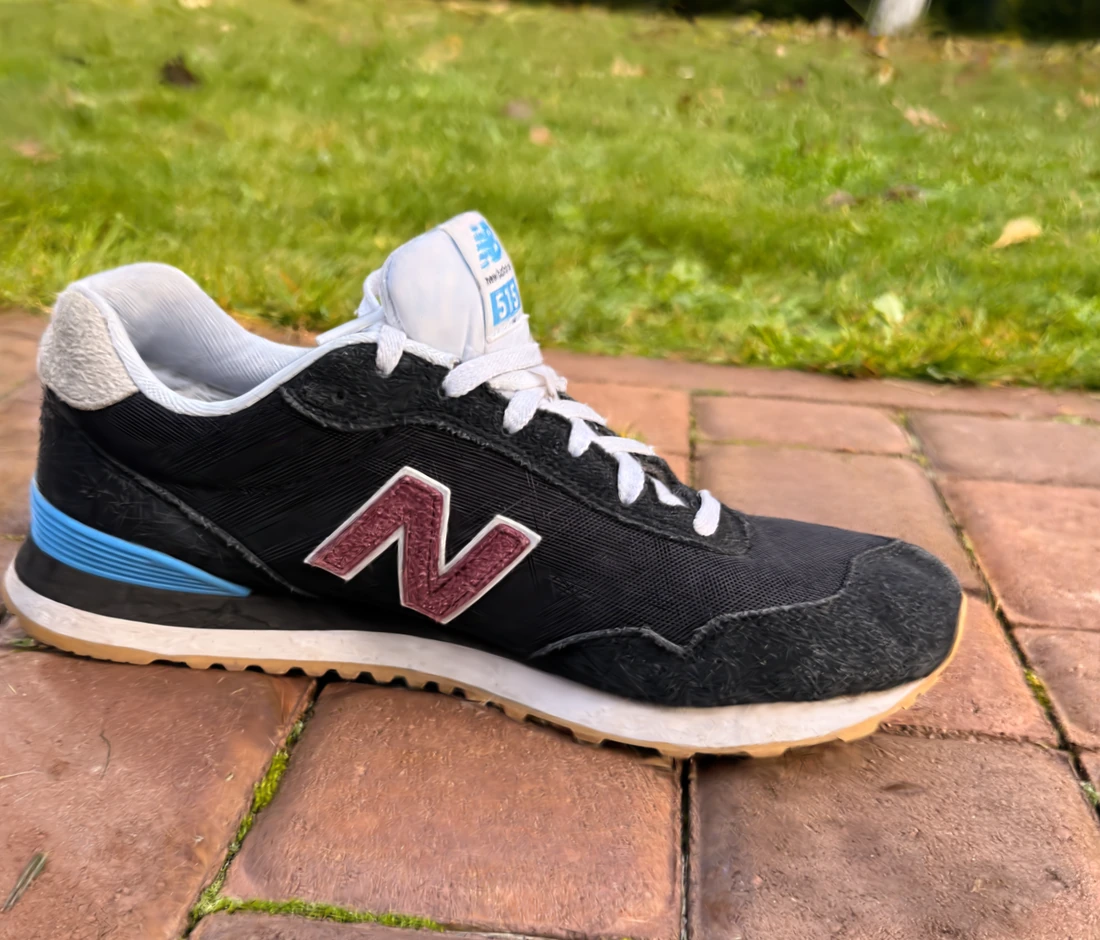
Our first Gaussian Splat captured a sneaker on a garden path. The sole stayed against the ground, and the scene retained the grass and paving. In EXP001 we wanted to see the shoe by itself, including the surface we had left out.
First we tried isolating the shoe in the existing EXP000 reconstruction. Masks helped remove most of the surroundings. To reconstruct the underside, we needed photographs that actually showed it. That meant putting the shoe in new positions and aligning the photos around the object.
Photograph the shoe in three positions
We combined 125 photos of the upright sneaker with 71 additional photos from two side positions. Those passes exposed the outsole and retained overlapping views of the upper and heel.
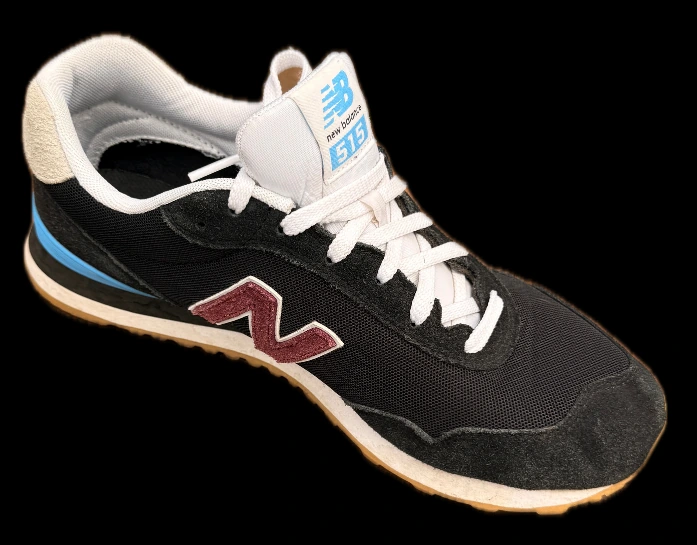 Upright
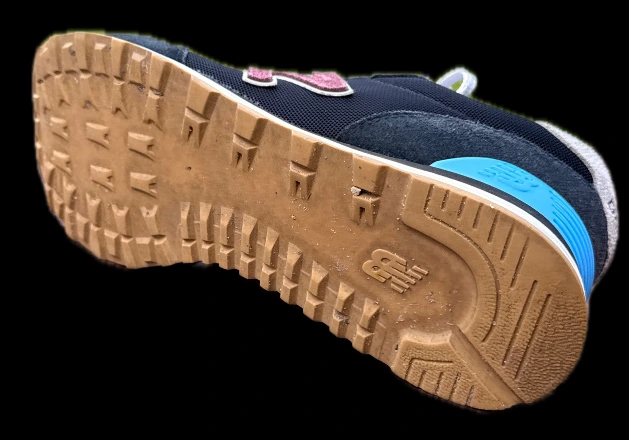 First side
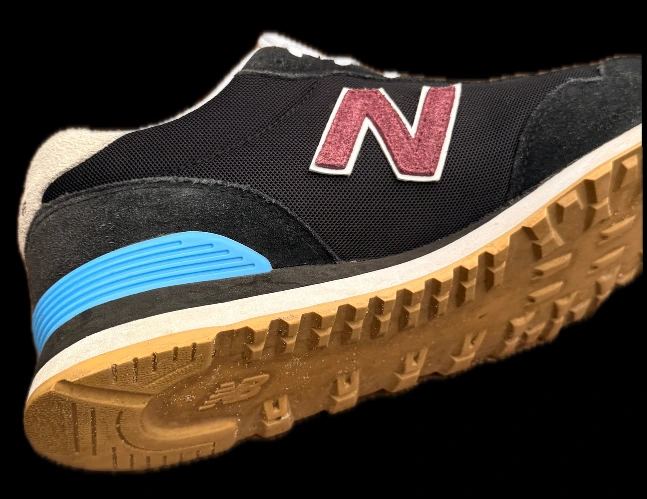 Second side
Once the shoe moved, the garden path stopped being a reliable reference for aligning it. We masked the background and used COLMAP to match features on the shoe. That registered 195 of the 196 photos in a common coordinate frame. The stricter check for cross-position consistency remained inconclusive, so we treated the training run as exploratory.
What the reconstruction preserved
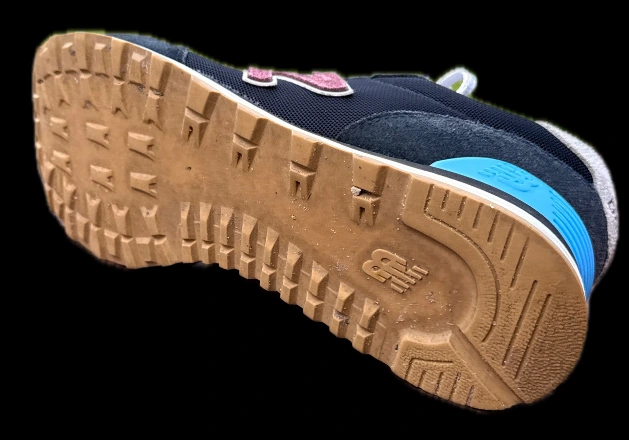
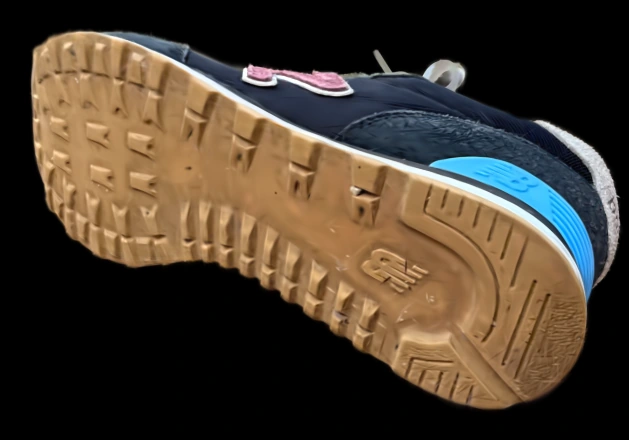
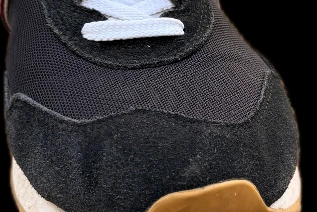
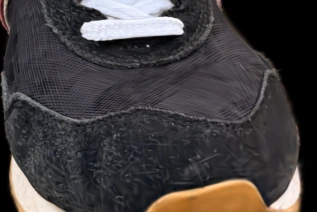
We compared the final splat with reference photos from matching camera poses. We also inspected 36 rendered viewpoints beyond those paired views. In views that exposed the underside, the outsole looked continuous. Close-ups of the upper showed differences in fine detail.
Outsole
Fabric and stitching
Laces
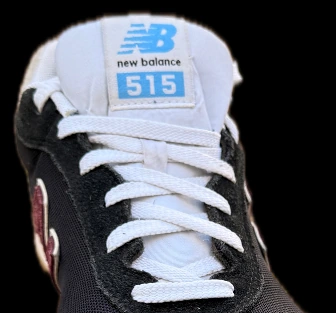
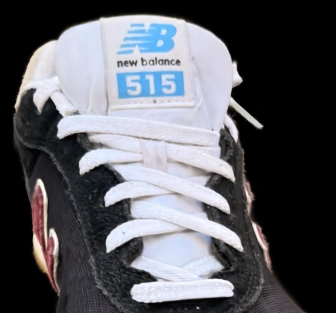
How the result changed during training
We compared four checkpoints on the same 24 reference views. At step 15,000, the median image similarity within the product masks was higher than at step 6,500. The silhouette overlap was nearly unchanged. The paired close-ups still showed errors in the weave and loose laces.
Step 15,000. PSNR compares image values inside the photo mask. IoU measures the overlap of the silhouettes. Both describe these views and depend on the masks and estimated poses. The evaluation photos contributed to pose estimation and were held out of GS training.
Checkpoint comparison and method
| Step | Masked PSNR | Silhouette IoU |
|---|---|---|
| 6,500 | 22.05 dB | 98.50% |
| 9,000 | 18.20 dB | 97.95% |
| 12,000 | 18.49 dB | 98.08% |
| 15,000 | 22.94 dB | 98.53% |
The 9,000 and 12,000 exports coincided with a scheduled opacity reset in gsplat. In a local control, capping only opacity in the 15,000 export reproduced the drop in image similarity, from 22.94 to 18.52 dB. We did not compare adjacent checkpoints taken at the same point in the reset cycle.
We used COLMAP for camera poses, Nerfstudio Splatfacto with gsplat 1.4.0 for training, and SplatTransform 3.10 for the matched renders. The paper and implementation links are below.
Inspect the isolated sneaker
Rotate the step 15,000 splat to look at the upper and outsole. This is the same reconstruction featured on the Research page. For the browser, we aligned it upright and used a compressed copy.
EXP001 Gaussian Splat
Use orbit and zoom to inspect the sneaker.
3D graphics support required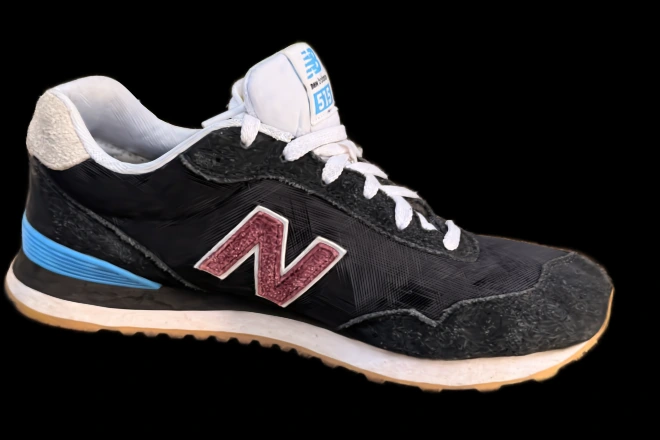
Drag to orbit and scroll to zoom. Open the viewer in its own tab ↗
From visible coverage to a usable surface
EXP001 showed that we could isolate this sneaker and render views of its underside. Some fabric and lace details remained below the level we wanted. Surface continuity, dimensions and AR placement were outside this evaluation.
That gives the next experiment a clear task. We can use the splat to estimate a surface and then check which parts of the sneaker survive the conversion to a mesh.
Methods and references